
In this article, I will show you how to paint Japanese-style paintings using the minimum tools purchased in the Beginner’s Tools section 1.
I will be painting a simple Japanese-style painting using only gofun (gofun), suihi pigments, and sumi ink.
Please refer to the article below for the minimum tools needed to create a Japanese painting.
【カジュアル日本画講座】2:日本画初心者さんの道具その1最初にそろえるべき道具は?
Don’t forget to prepare Japanese glue the day before you paint.
【カジュアル日本画講座】3:日本画初心者さん 絵を描く前日は膠を準備!
1. Decide what you want to draw.
Decide what you would like to draw.
You may sketch it, or you may prepare your favorite image.
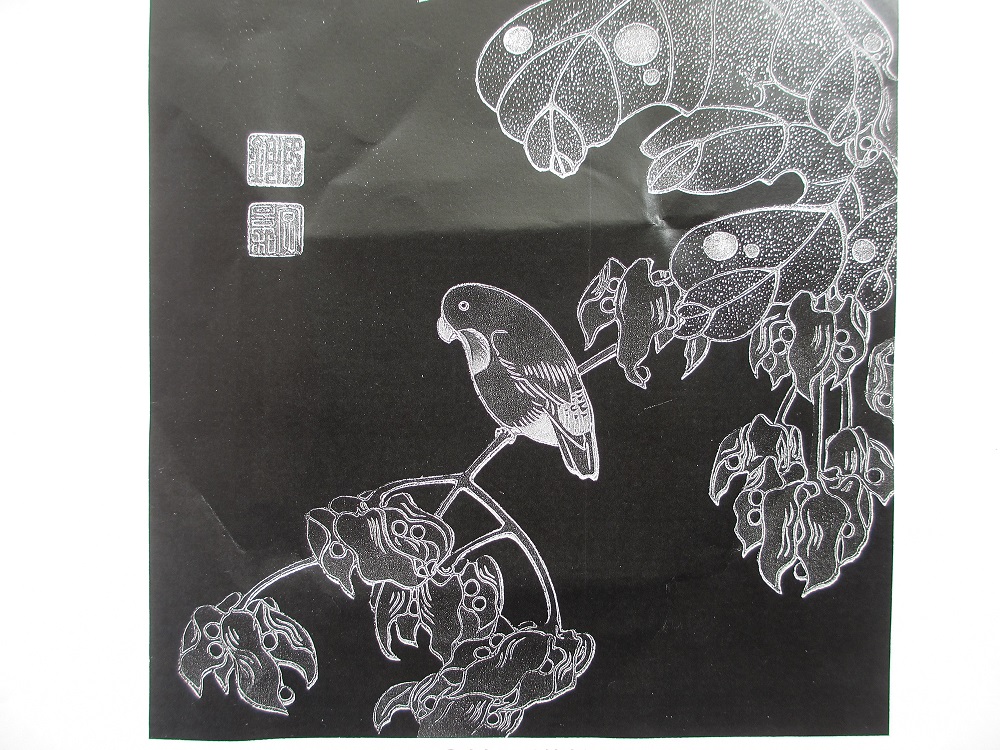
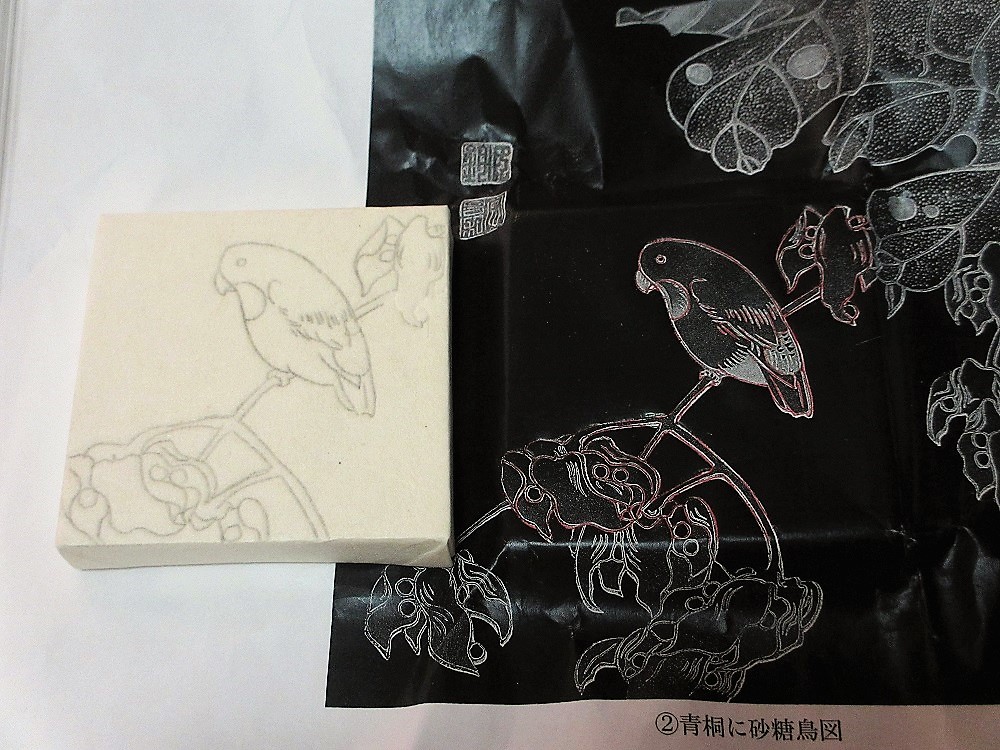
This time, we will use a copy of Jakuchu Ito’s print, “青桐に砂糖鳥図” as a sketch.
Q. What is a large sketch?
A. If you repeatedly write and erase directly on the production paper (called “hon-ga”) with a pencil, the Japanese paper will become rough. To prevent this, line drawings are drawn on a separate sheet of paper and copied onto the main drawing. This line drawing on a separate piece of paper is the large sketch.
They say that sketching is the key to Japanese painting, but the motto of this blog is “Japanese painting in a casual way! is the motto of this blog, so please pick up any image you like and copy it.
When copying, don’t forget to consider the size of the screen on which you are going to draw.
(By the way, when you draw a picture from an image, please keep it within the range of personal enjoyment because of copyrights and so on.)
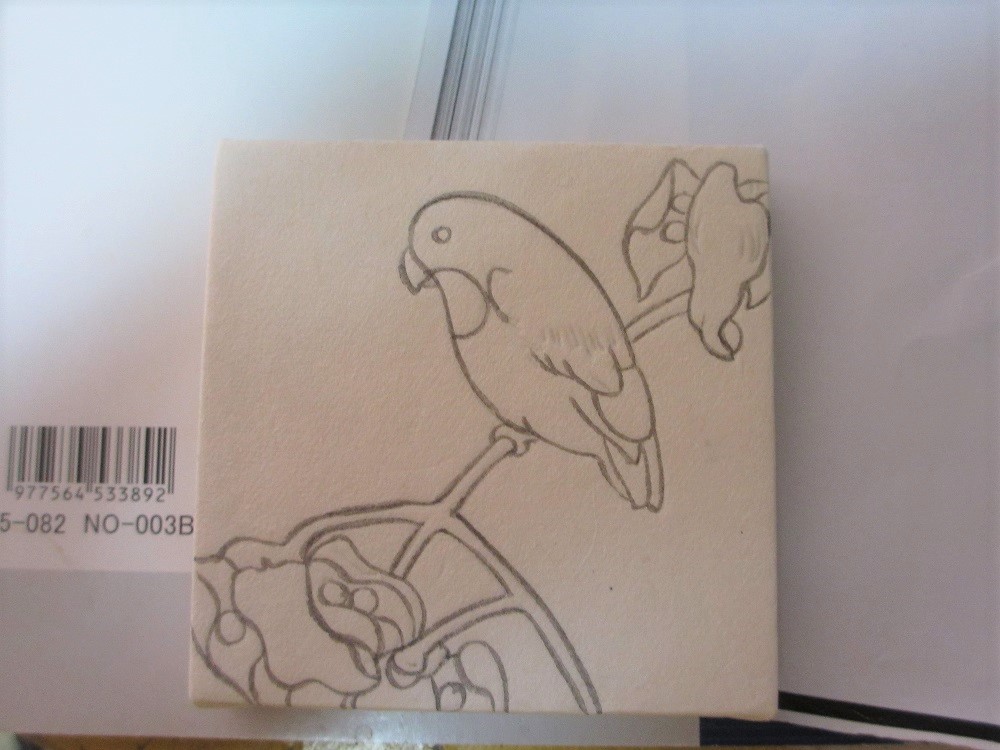
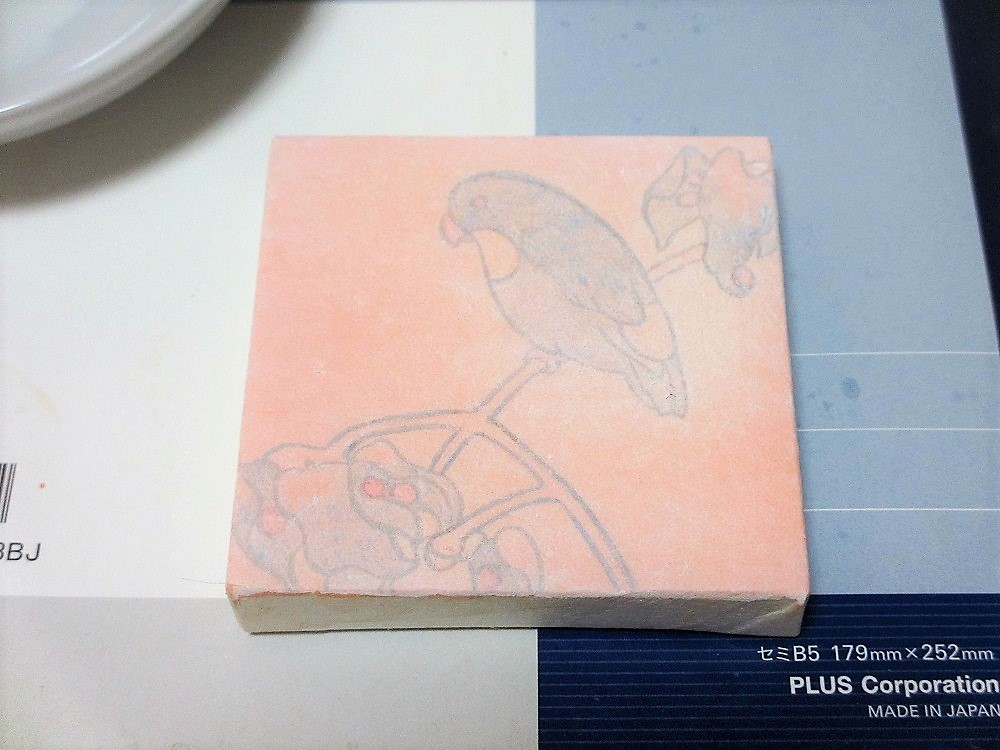
2. Copy the large sketch to the main painting.
For now, decide on the composition.
This time, I will draw on a 7cm x 7cm panel.
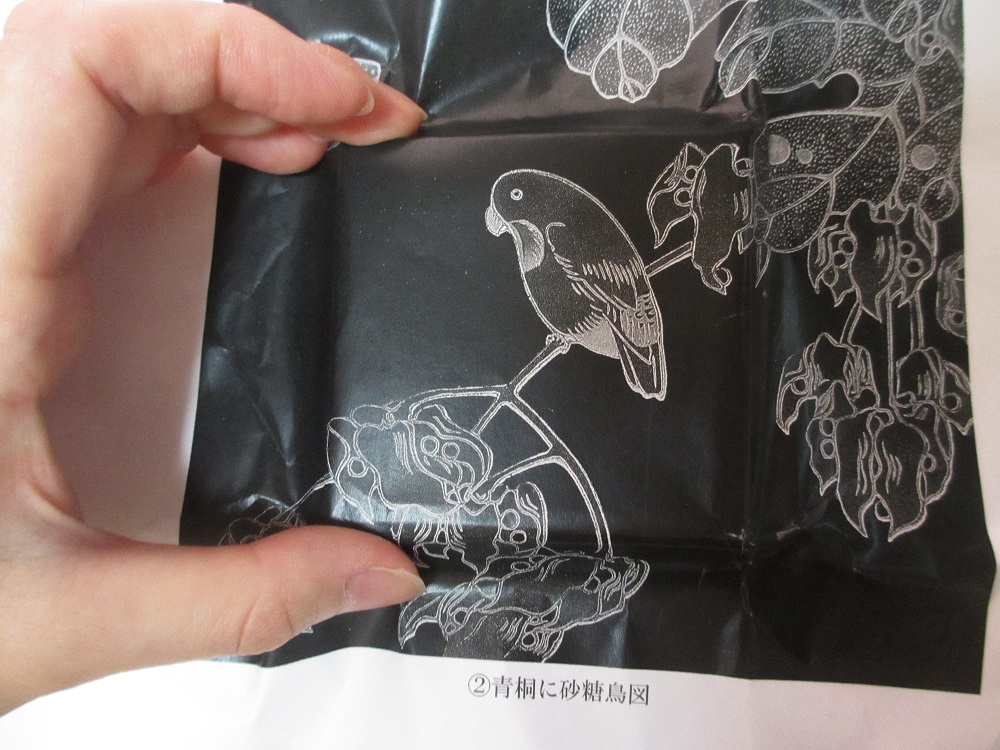
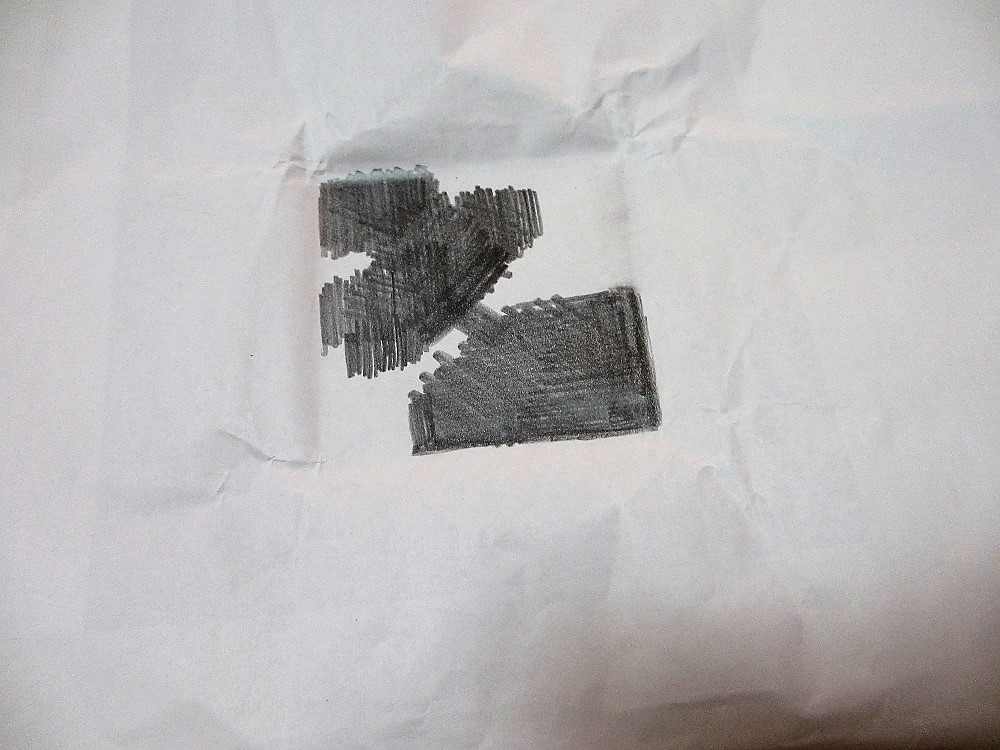
Once the composition is determined, paint the area where the lines are on the reverse side of the large lower figure in black with a pencil.
The darker the pencil, the easier it is to paint.
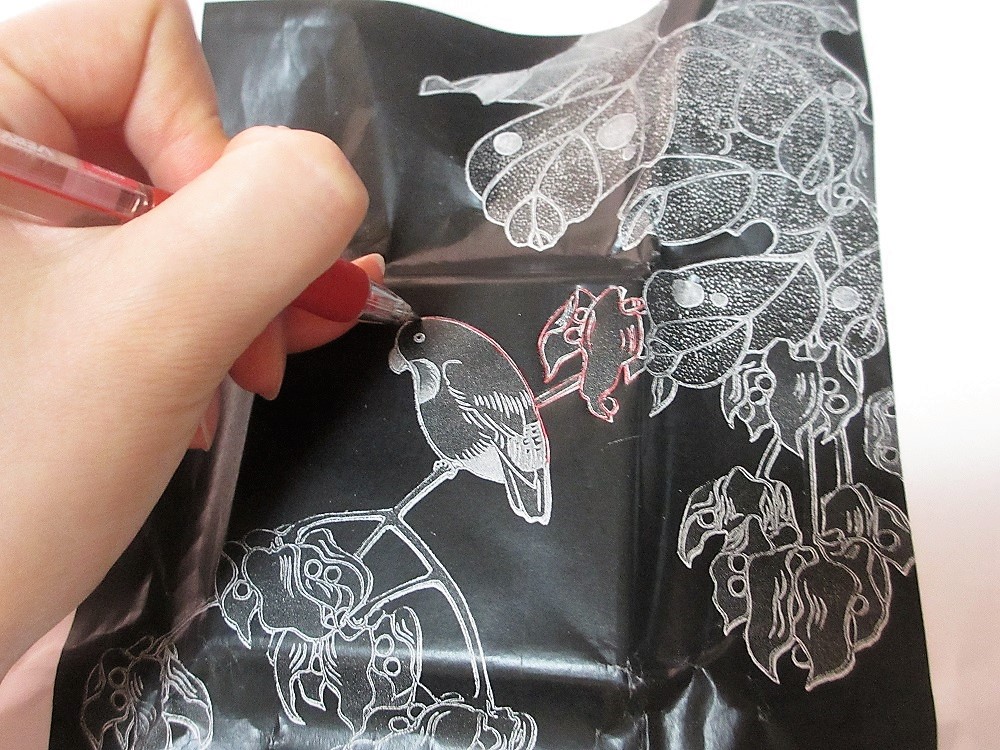
When you have finished painting with a pencil, cover the panel and trace the line drawing with a ballpoint pen.
If you use a red or blue ballpoint pen, it will be easier to see where you have traced.
After tracing, check the original drawing and you may find that the lines are surprisingly rough.
A little bit of pencil is used to straighten the lines.
3, Draw an inked line
If you don’t have sumi ink, you can rely on pencil lines.
I am a person who likes to draw ink lines, so I cannot help drawing ink lines.
I added a little water to the sumi ink and drew sumi lines.
I decided on the density of the black line because I didn’t want the black line to extend into the painting when I applied paint on top of it, and also because I wanted the black line to remain after the paint was applied. Just in case.
4, Paint the background
Make the Gofun (Shell White).
Please refer to the following page for details on making Gofun .
【カジュアル日本画講座】4:日本画初心者さん 描き方 胡粉を溶こう
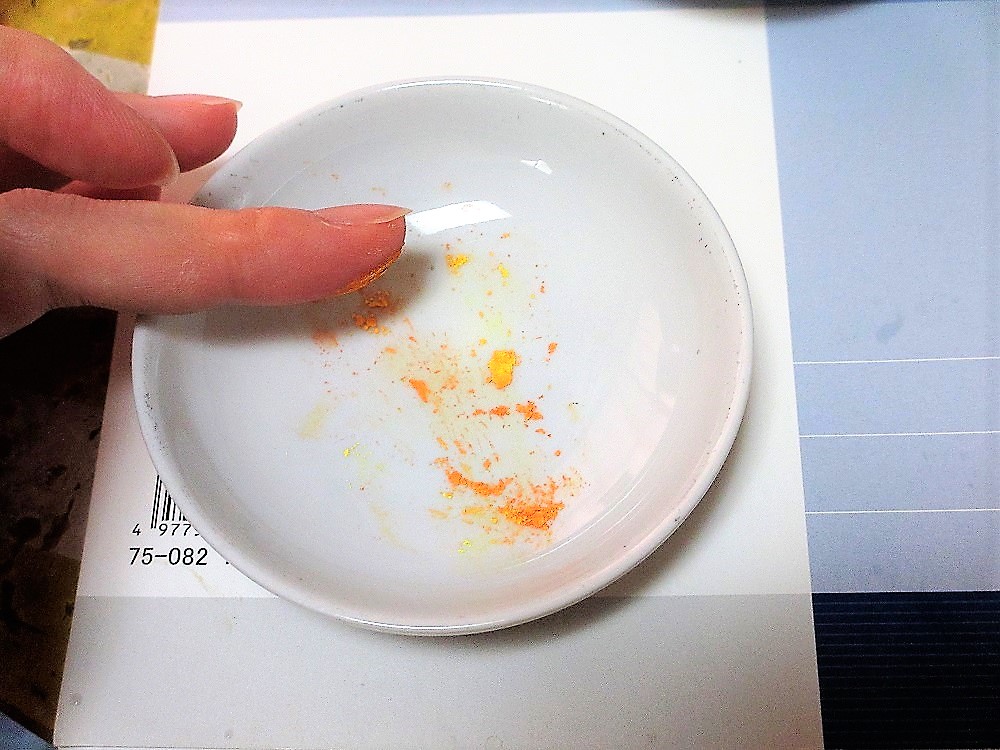
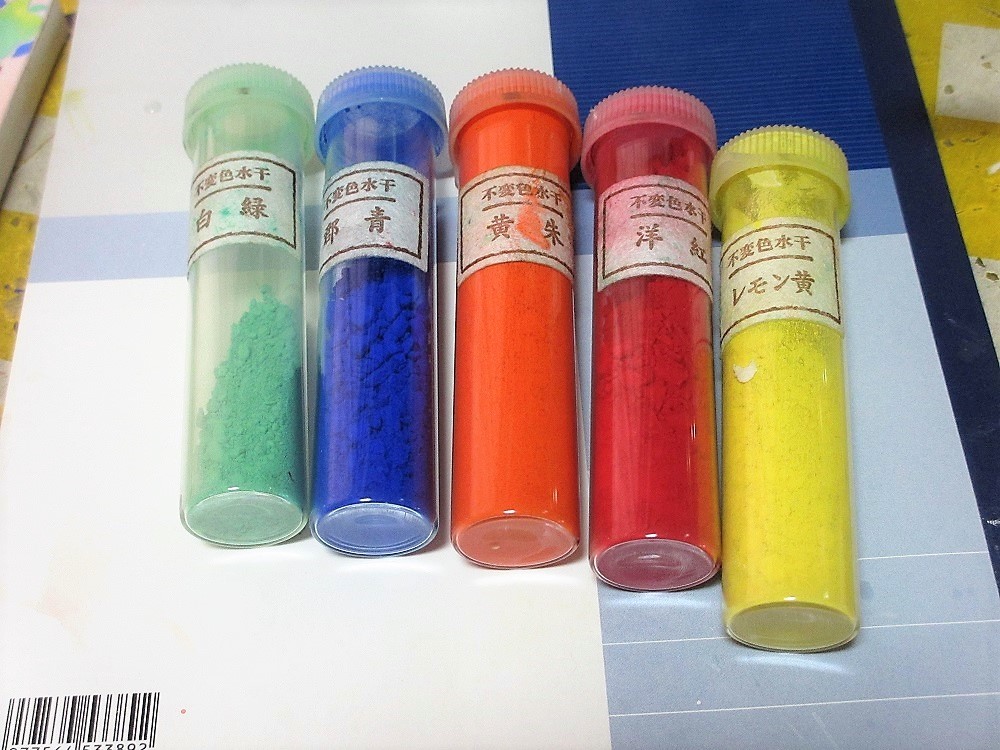
Put a little suihi pigment out on a plate. Put out two kinds of mizuboshi, one orange-based and one yellow-based, and mix them.
Suihi pigment is not a silky powder, but a flat lump, so grind it with your fingers.
Add just a little bit of glue and mix while mashing until the roughness disappears.
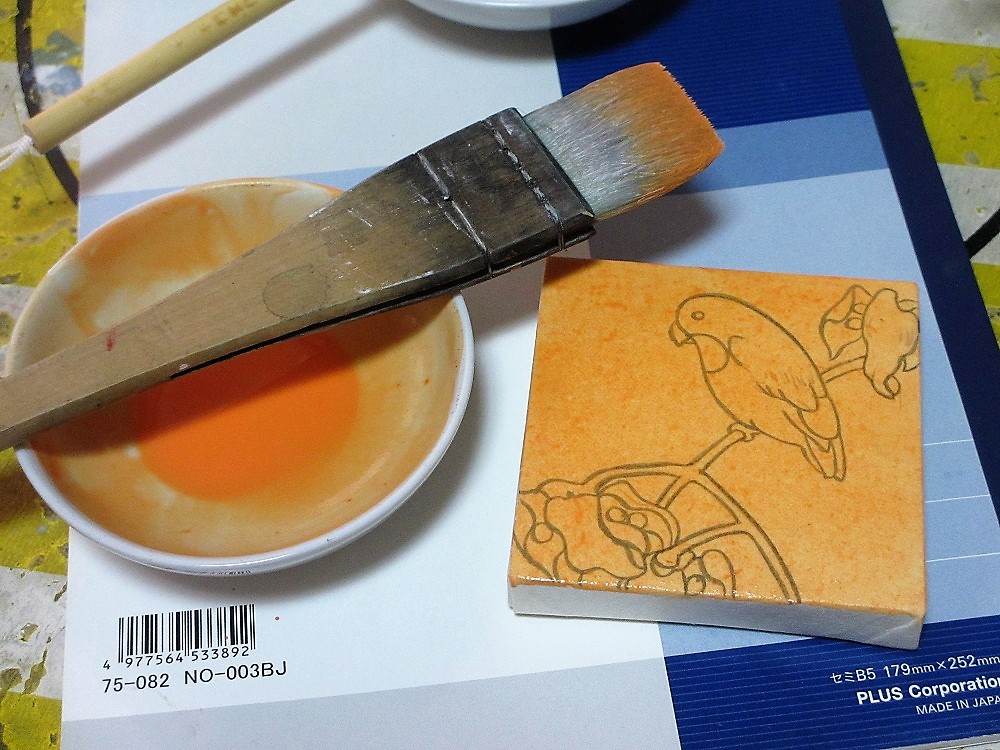
Add the melted gofun to the dish of dried water.
Add a little at a time while stirring to determine the intensity of the color.
(When it dries after application, it will be slightly whiter than the color in the dish.)
Once the background paint is made, it is applied with a brush.
By the way, folks, Japanese pigments will sink to the bottom over time.
Always mix up the dish before painting!
I applied three coats because only one coat would make the screen look cheap or not thick enough.
(When applying a layer of paint, if you apply it again before it is dry, it may blur and create a pattern. (It may depend on the size of the screen, but it is better to leave it for about 30 minutes after the surface is dry…)
5, Paint specific motifs.
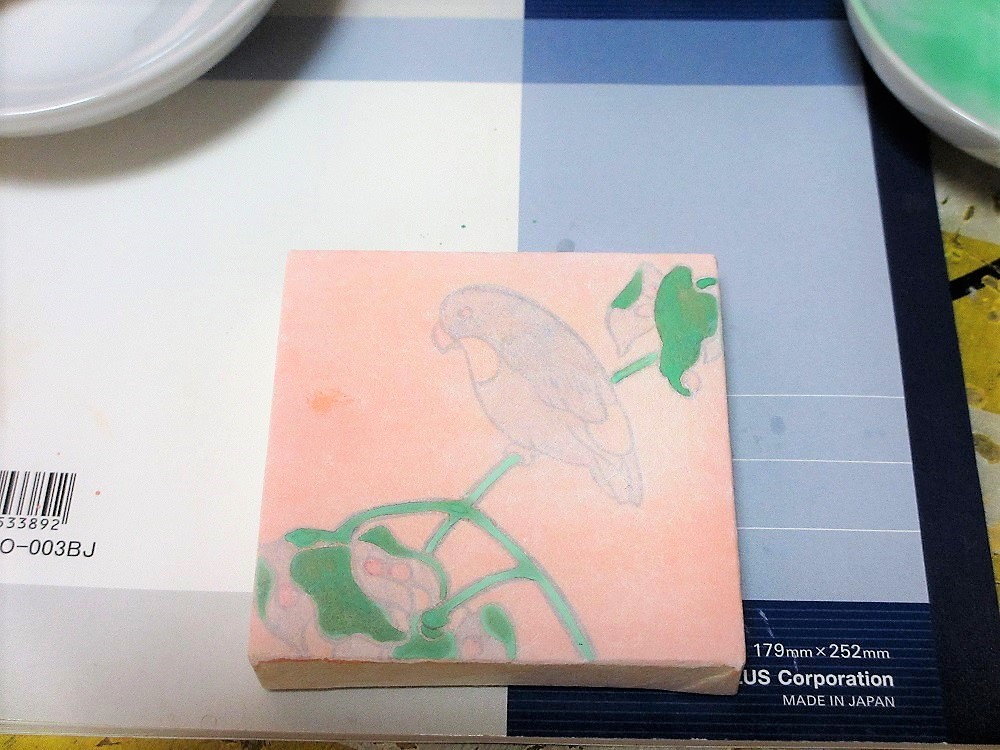
Finish painting the background and paint the 青桐.
I mix blue and red suihi pigments and gofun to make the color.
At this point, I have only thought about making a gradation of white and blue for the 青桐.
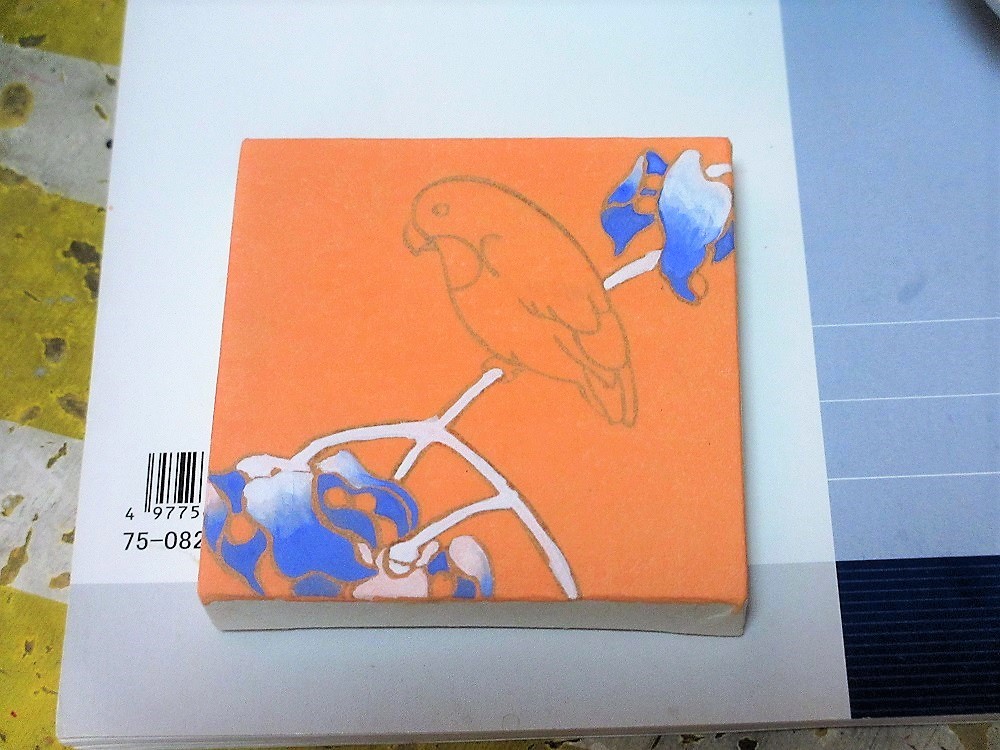
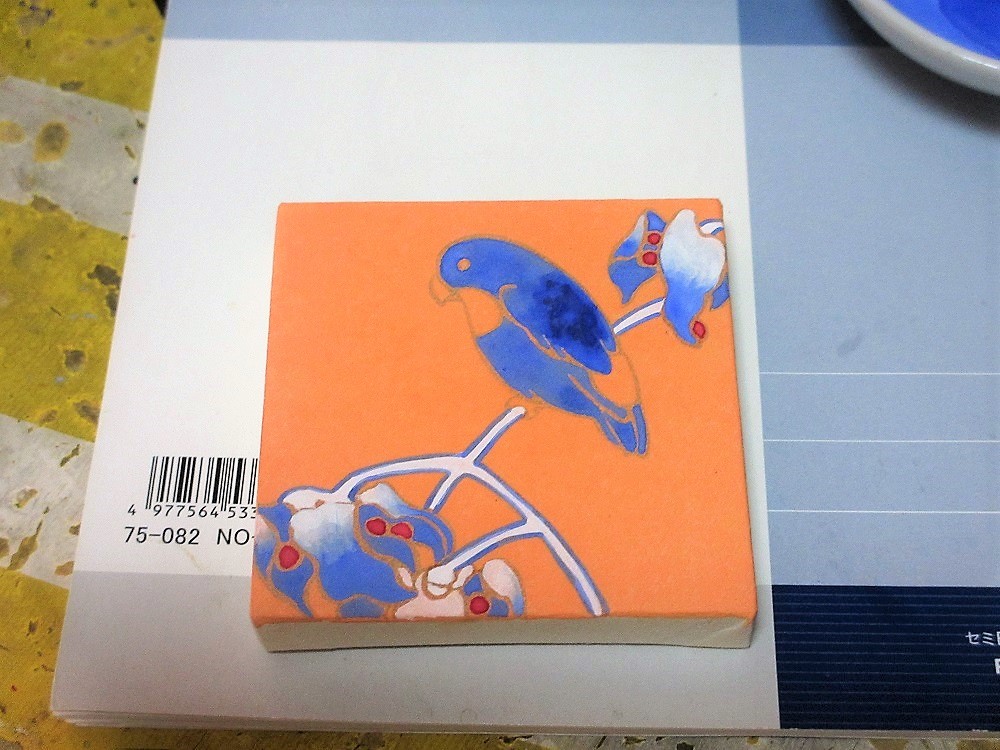
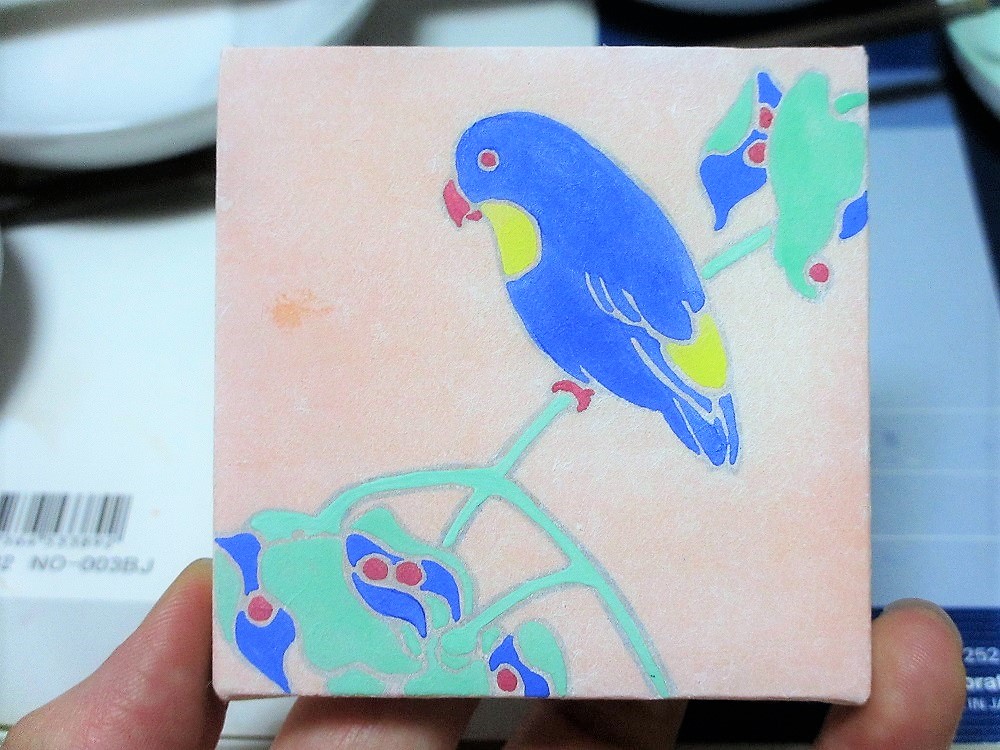
I thought a lot about what color to use for the bird, but I decided to use blue.
I painted the beak, feathers, etc.
And then…
Huh?
This isn’t working… and I washed the screen!
I washed it!
I washed it (for the third time)!
I am glad to tell you that Japanese paper is strong and can be washed to a certain extent and re-painted – (damn it).
Japanese painting uses water, just like watercolor, but the good thing is that it can be washed to some extent.
Let’s all think properly before we start painting☆.
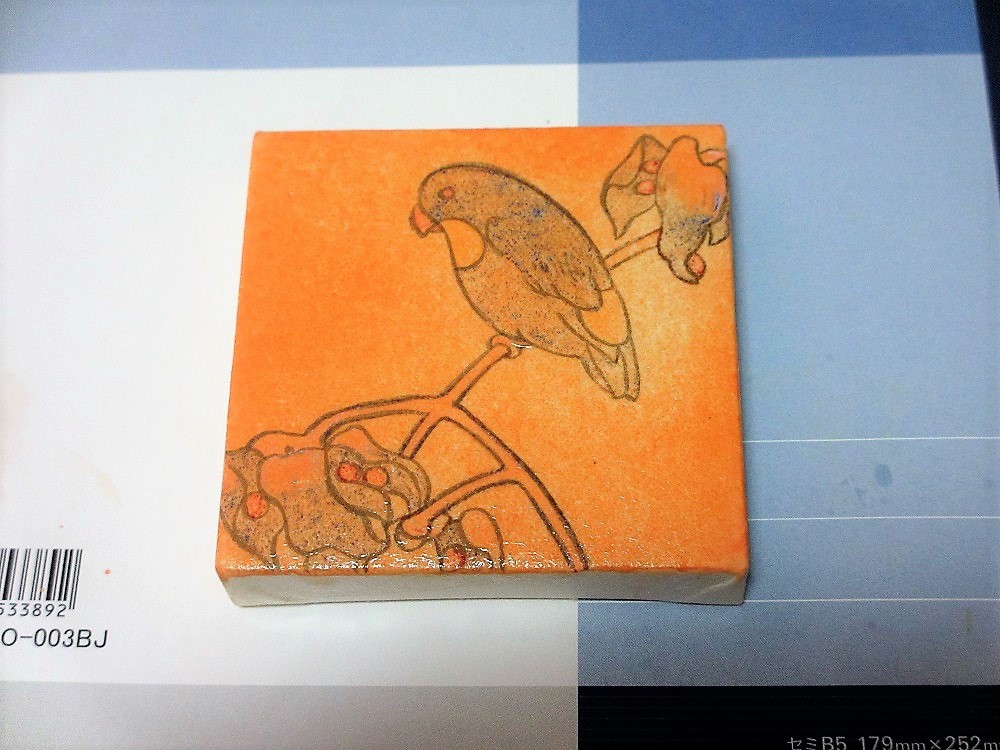
After that, please see the photos….
It is still floppy, so we will paint the detailed bird feathers and the blue paulownia pods.
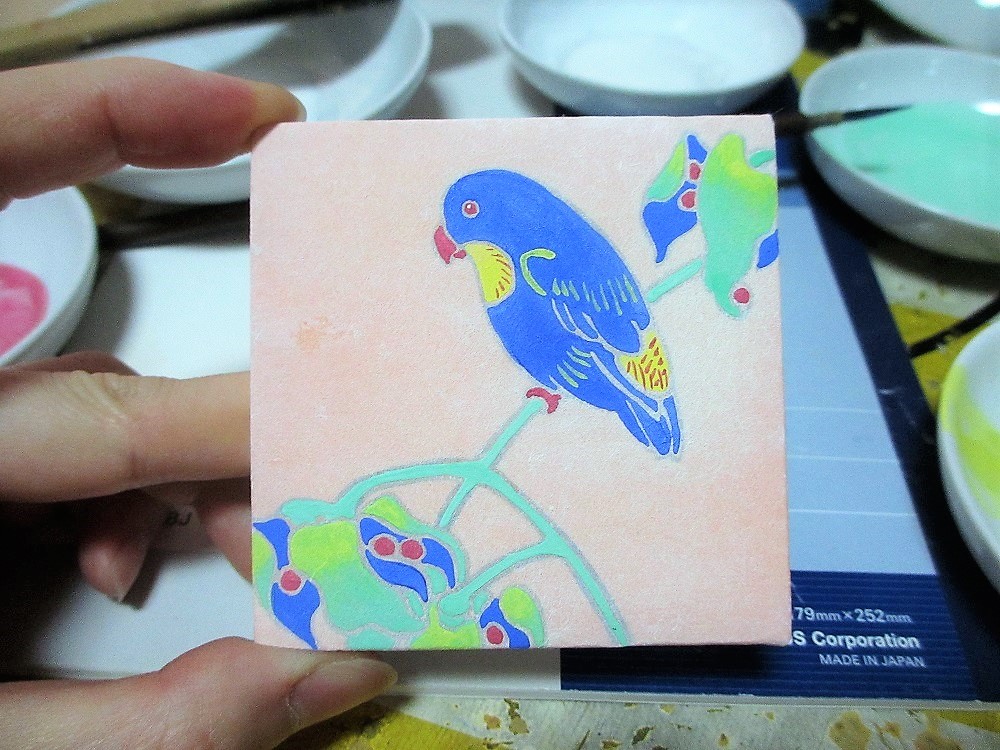
What do you think?
I think it turned out pretty cute!
I hope you think that it is possible to make pretty pictures with gofun and suihi pigments alone….
If you think it looks fun, if you think you can do it, if you think you can get your hands on it, let’s try Japanese painting!


